Now that we have our pattern pieces traced/cut and altered, we are now ready to cut the fabric.
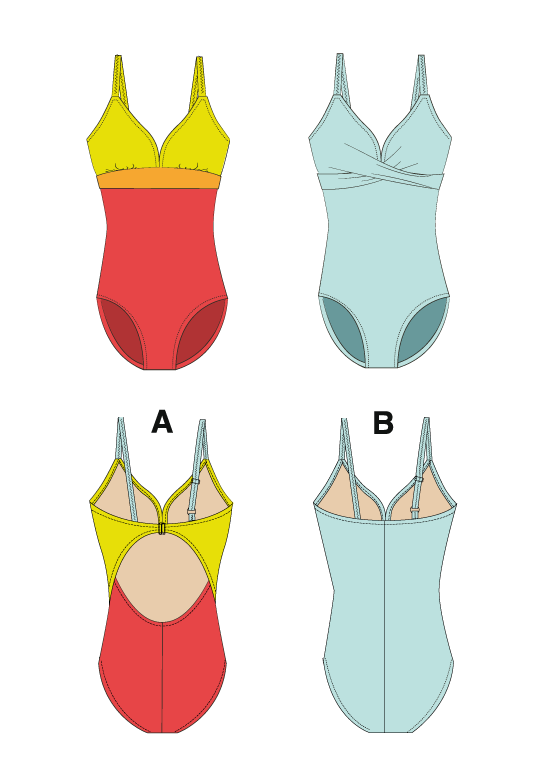
Sweetheart Swimsuit (View A)
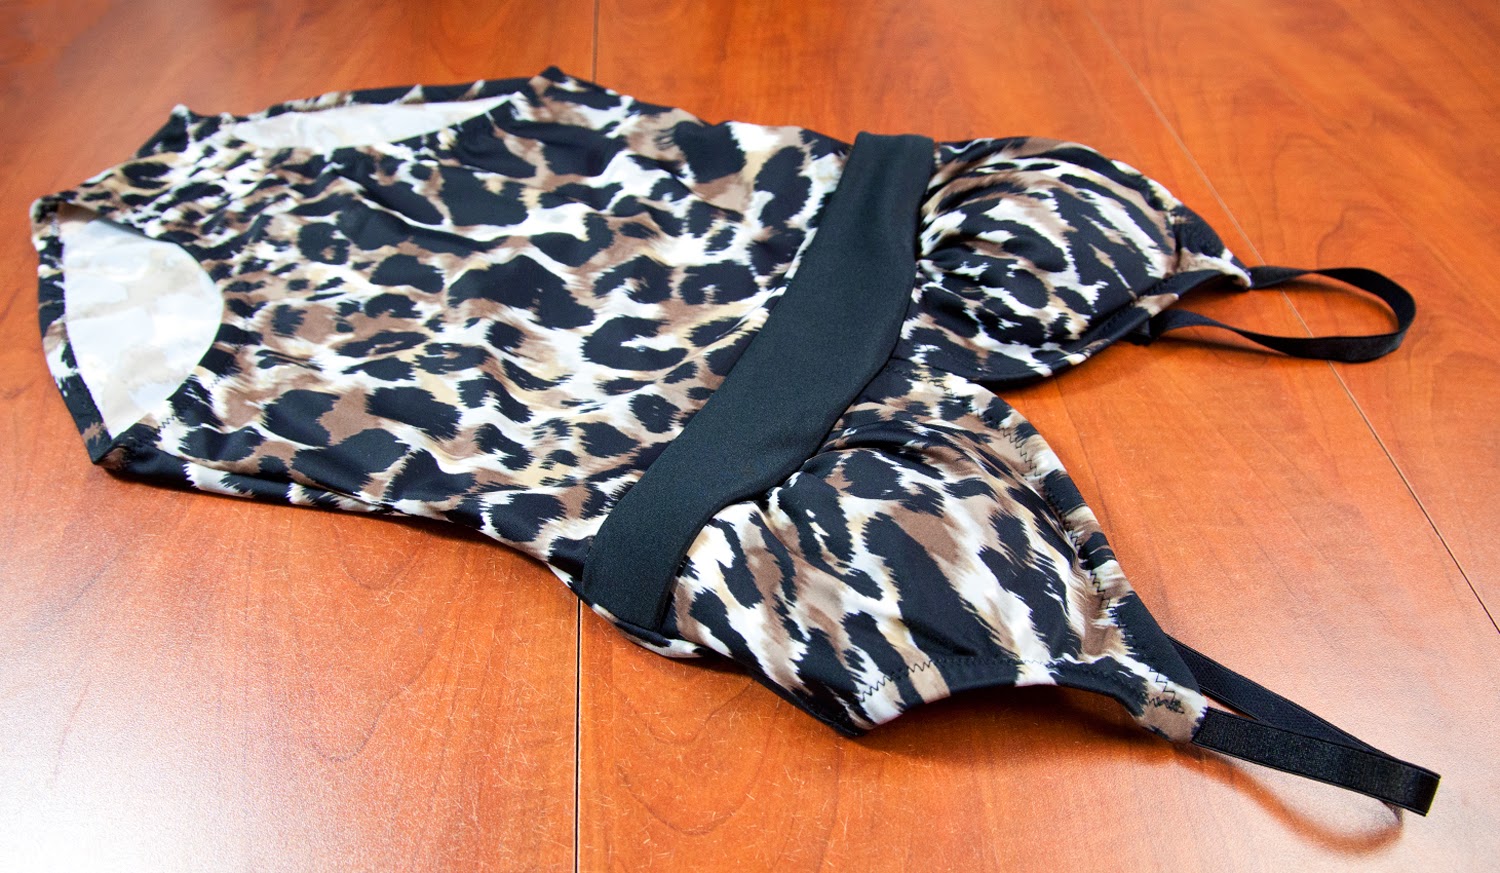
We will be making view A in a feline print with a black contrast band in adult size S. We have all our fabric and supplies ready, along with our tablet with the PDF instructions.
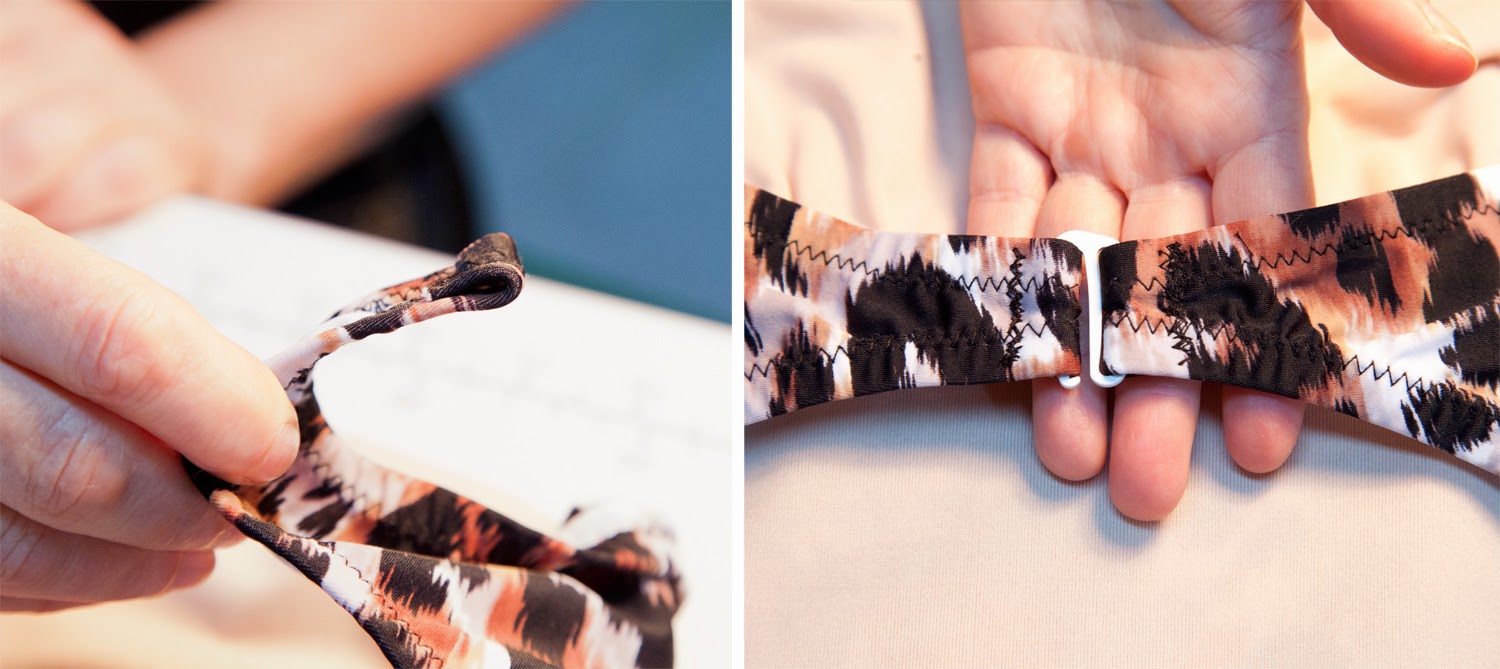
As you can see in the photo above, we decided to use bra straps for this one (with a kit purchased from
Sew Sassy).
We will cut:
- In main fabric (print): Bust X2 (A), Front X1 (E), Upper back X2 (F) and lower back X2 (G)
- In contrast fabric (black): Contrast band X1 (C)
- In lining: Bust X4 (A), Front X1 (E)
Main fabric
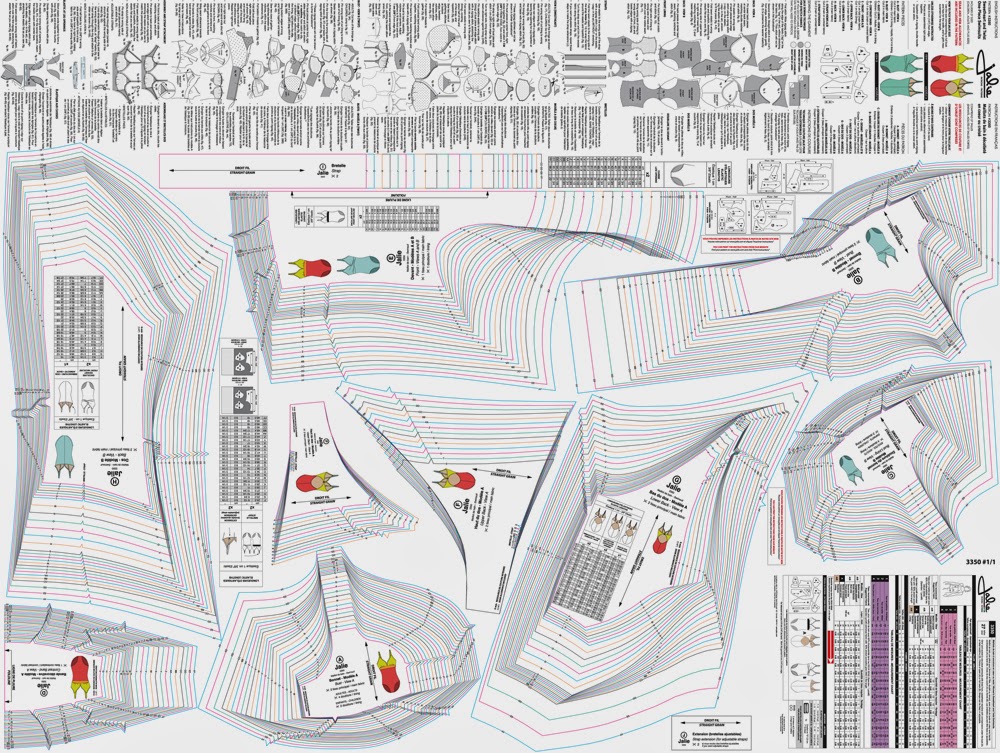
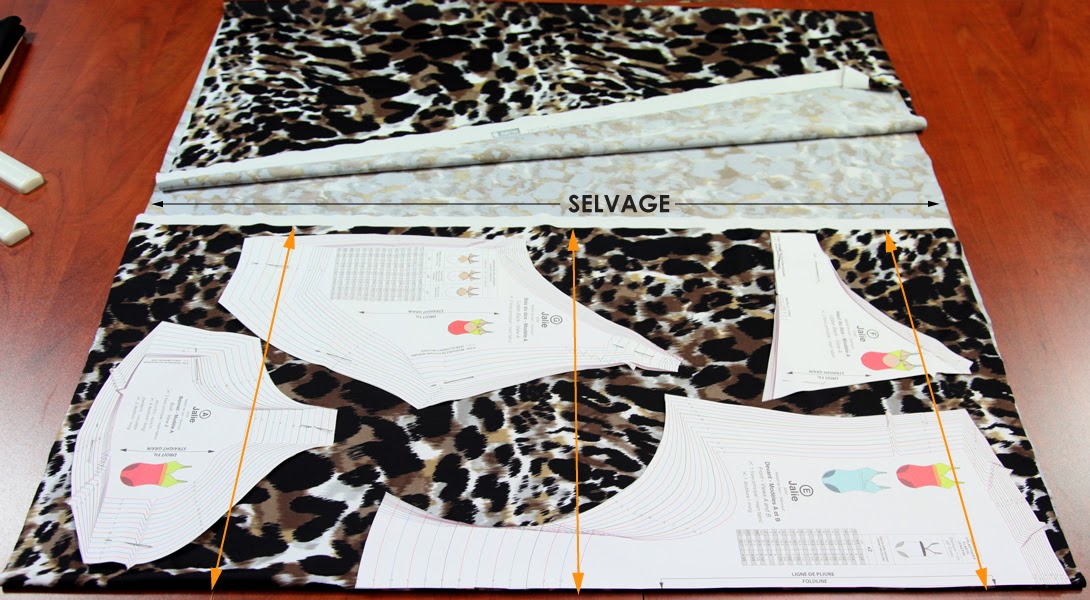
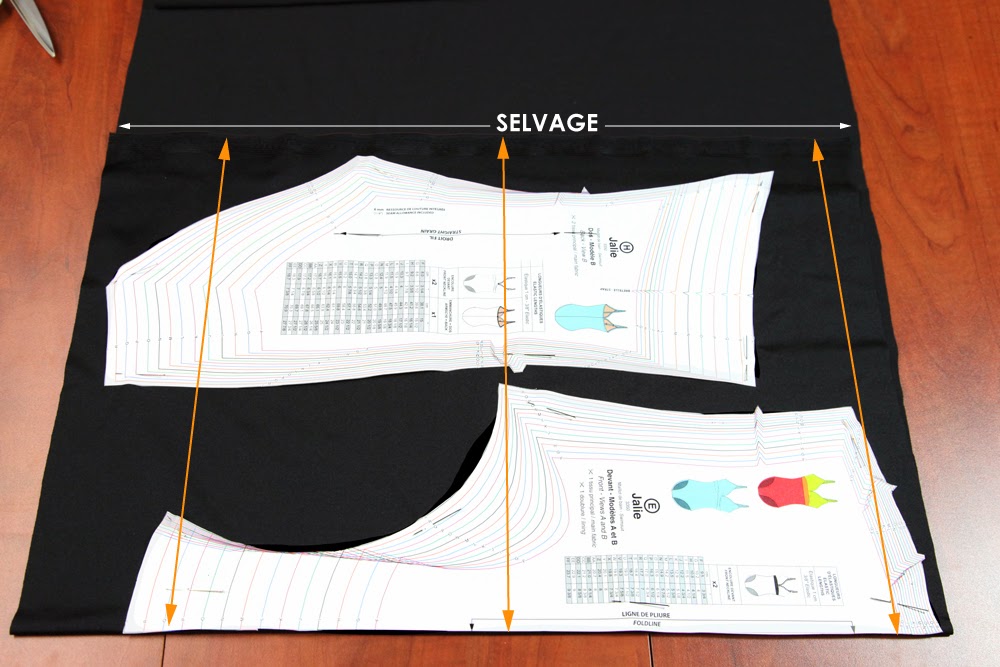
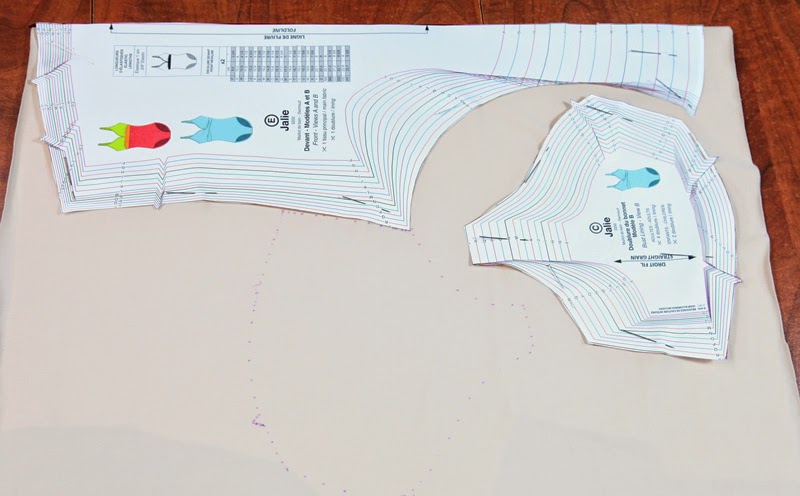
Here is the cutting layout for our main fabric:
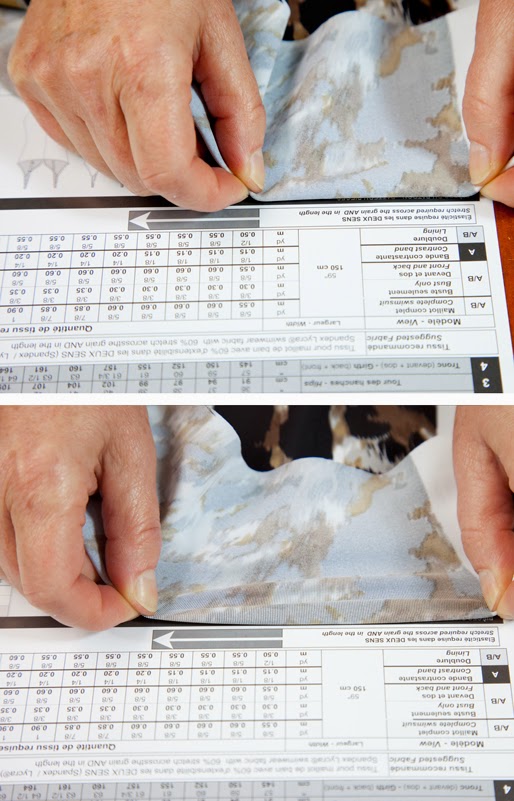
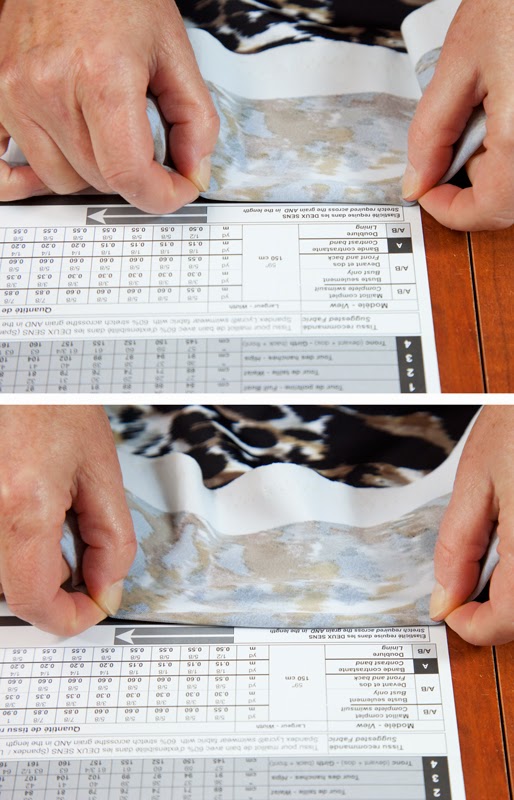
As you can see, with the 60 cm (5/8 yard), you can actually make two swimsuits if you fold the fabric as shown in the picture. You fold it to have enough space for all your pieces and then measure to make sure your fabric is folded parallel to the selvage (the three orange lines are the same length).
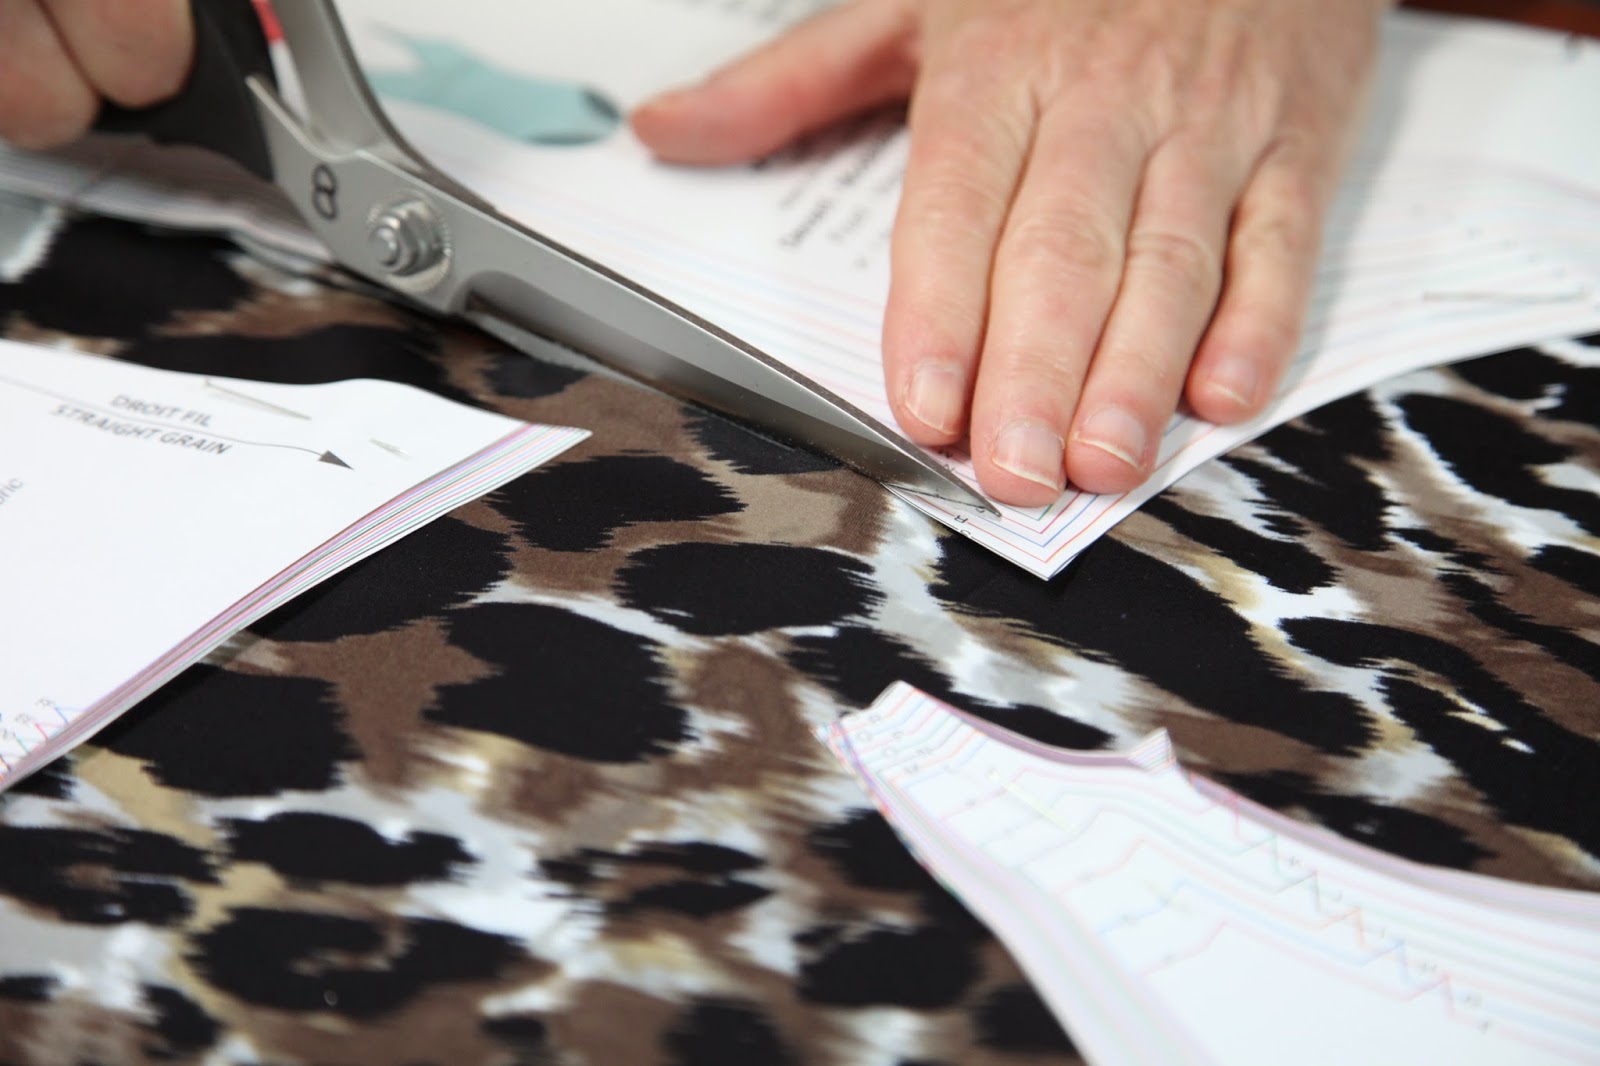
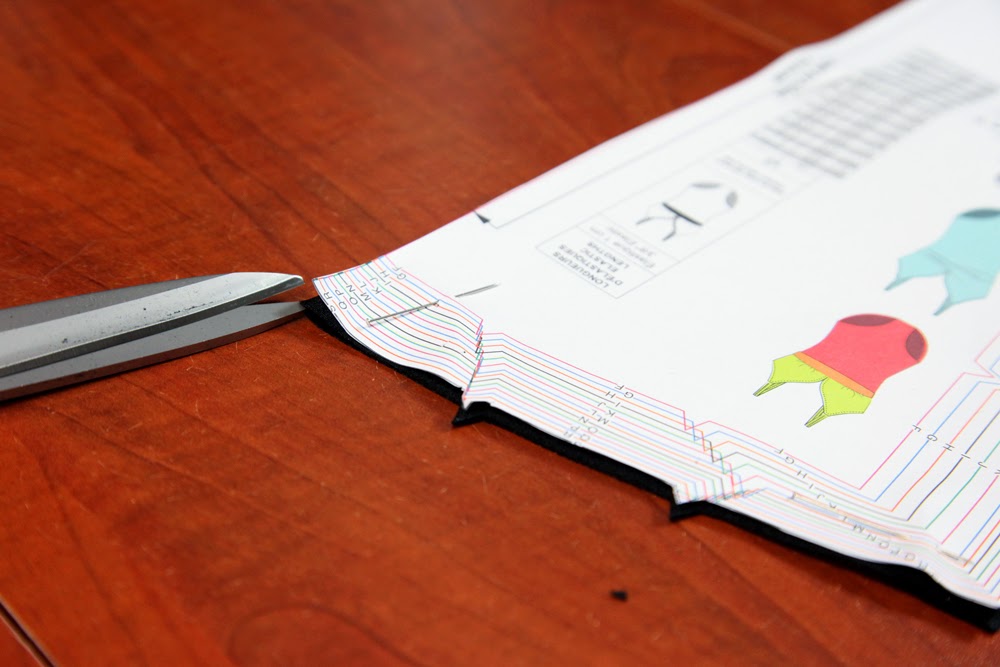
Many people like to use weights and rotary cutter, but we prefer pins and scissors.
Good scissors. We found these Kai Shears 10 years ago and never used anything else since then!
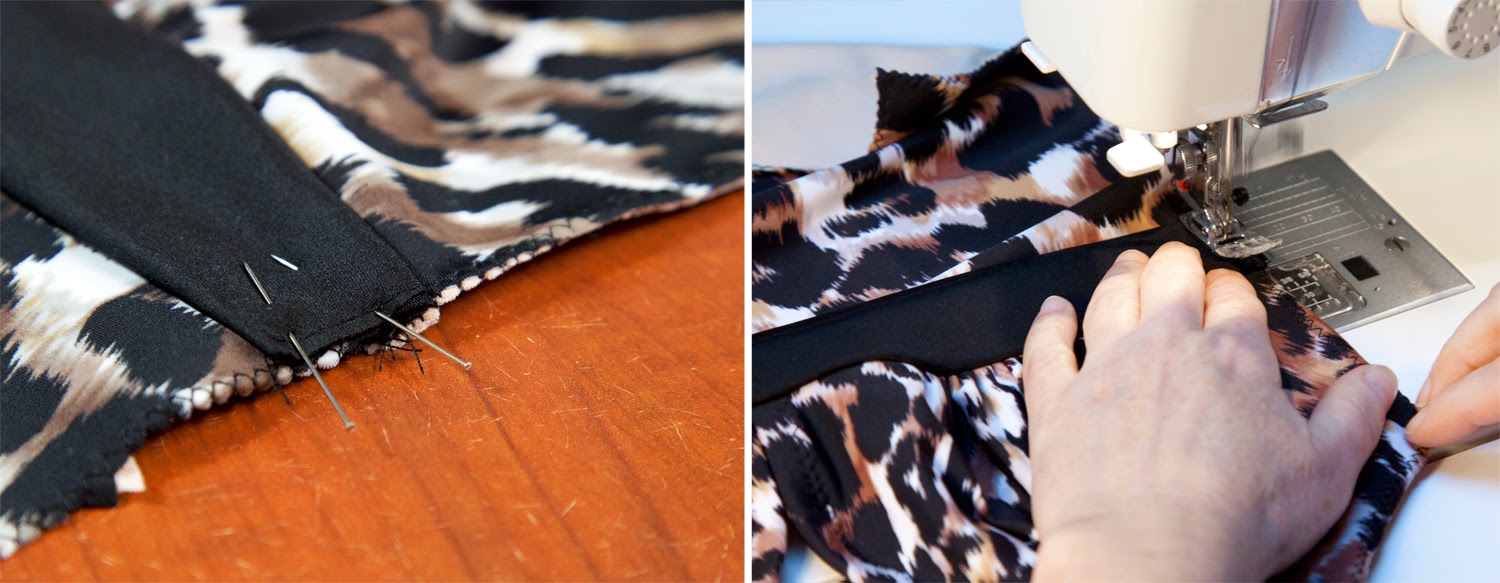
Pin close to the edge of your piece, taking just a little bit of fabric to keep everything nice and flat. Then cut along the edge of the paper, making sure you cut all notches carefully.
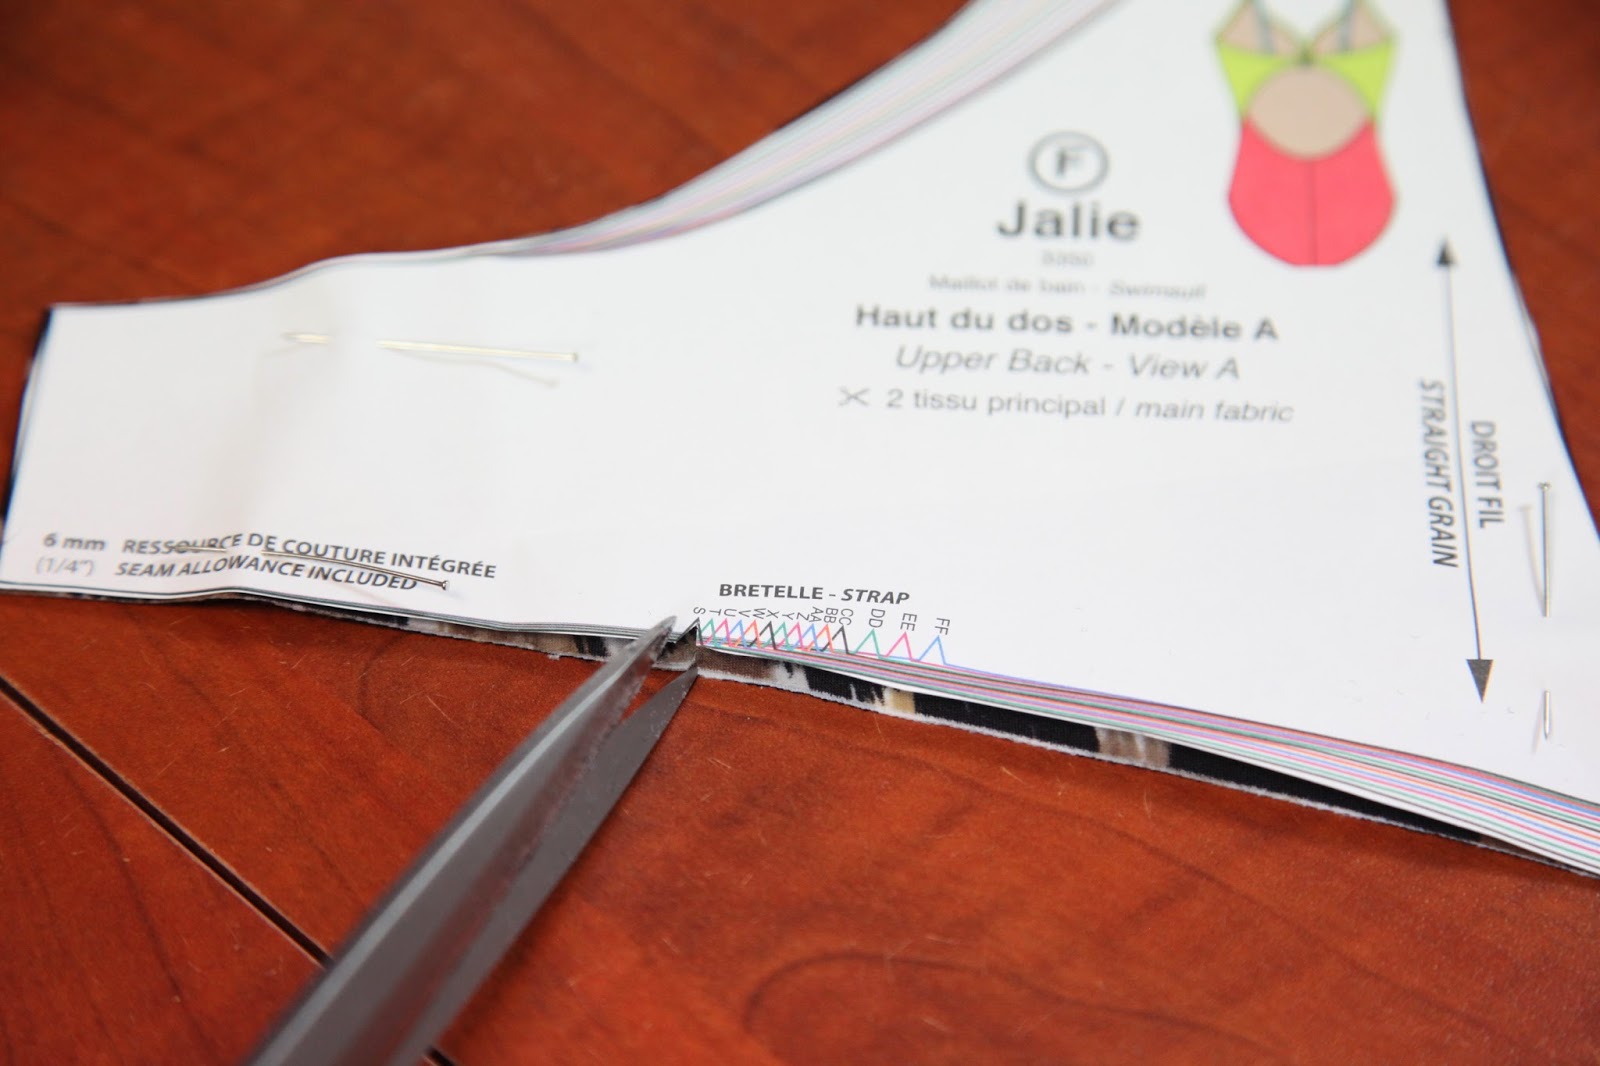
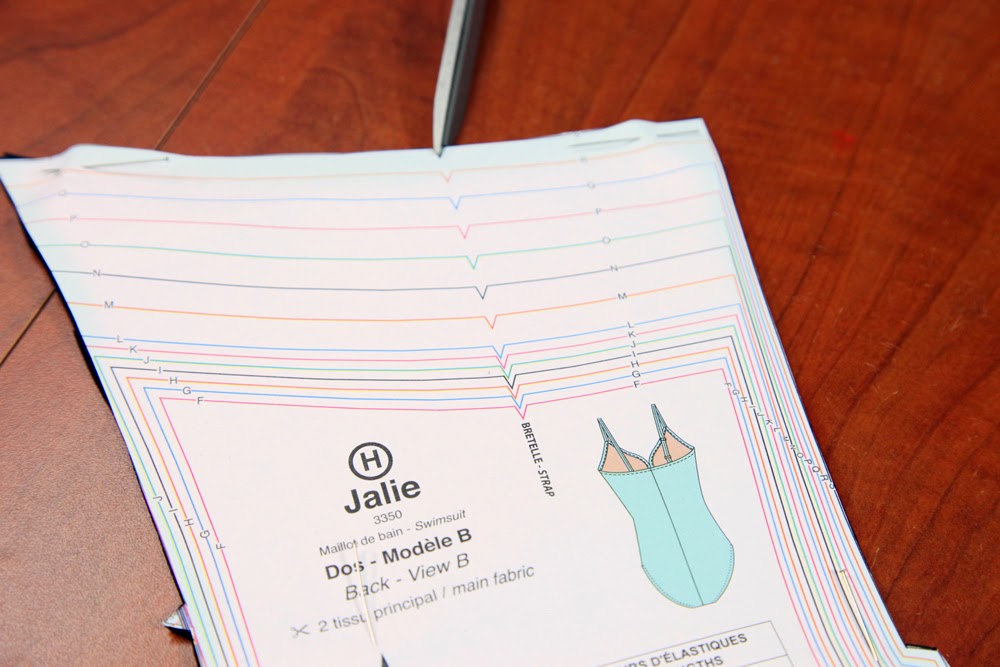
On the Upper Back piece (F), clip at strap placement mark:
On Front piece (E), clip the fold to mark center front (always do that when you have a piece cut on the fold):
Contrast fabric
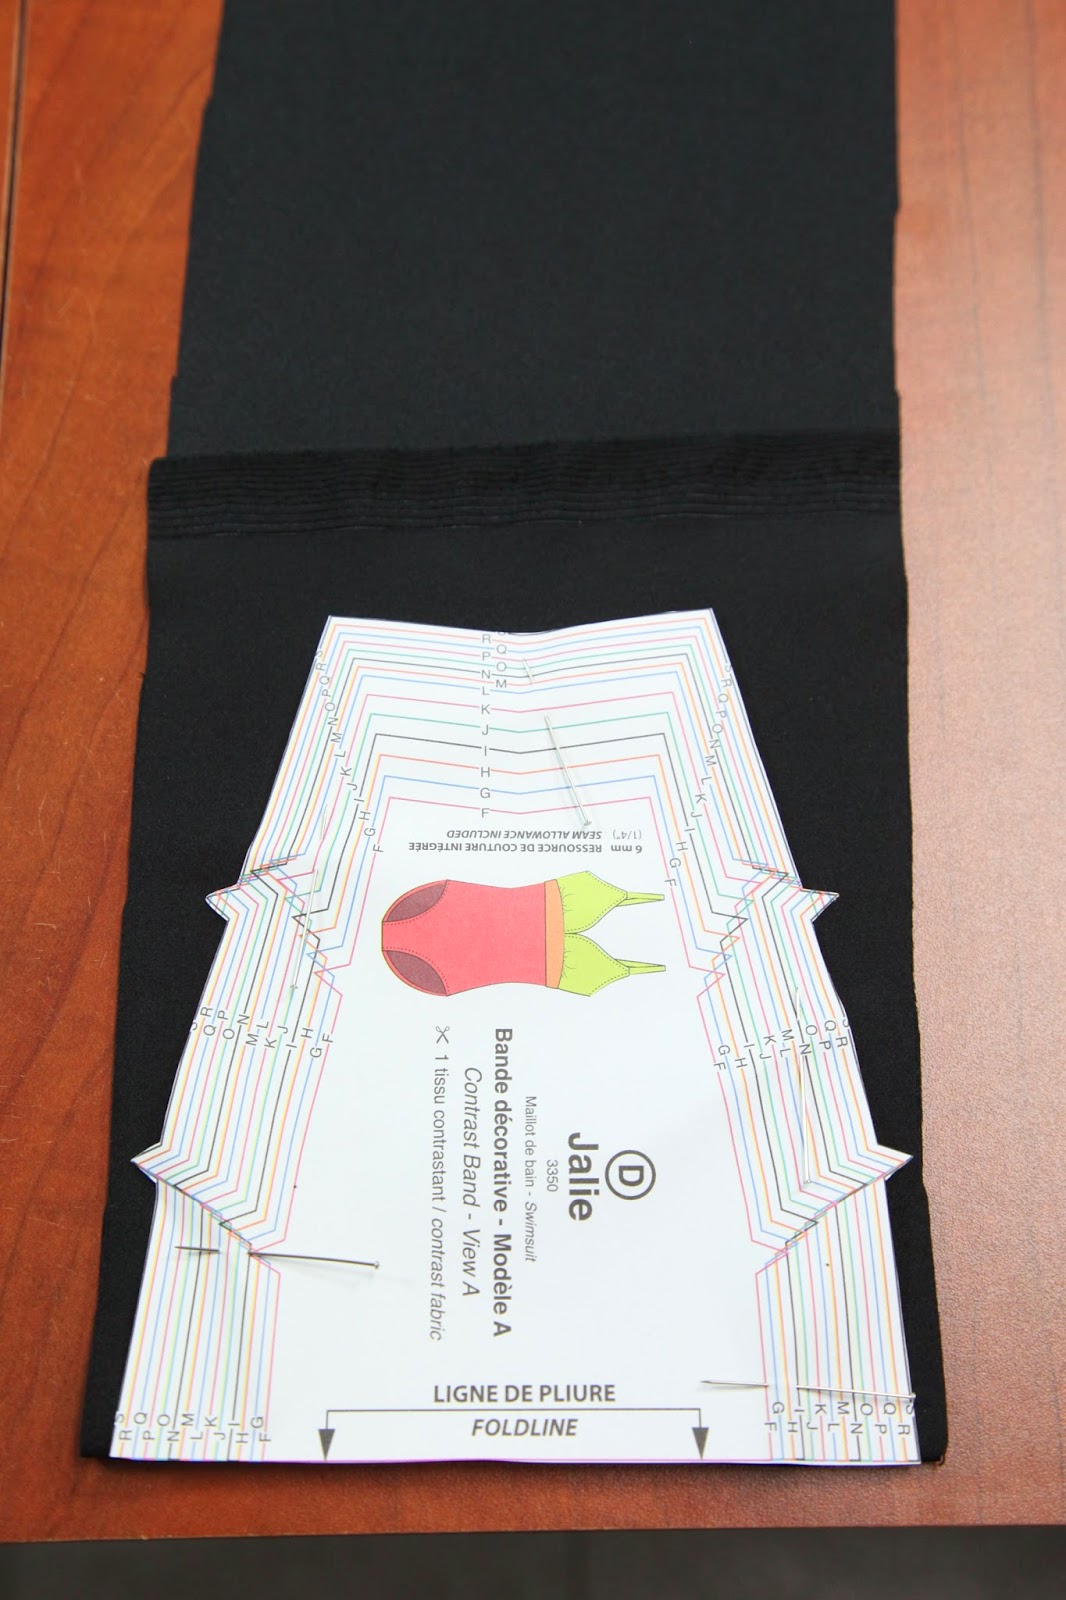
We only need the small contrast band in black, so we fold the fabric to the width of the piece to use as little fabric as possible:
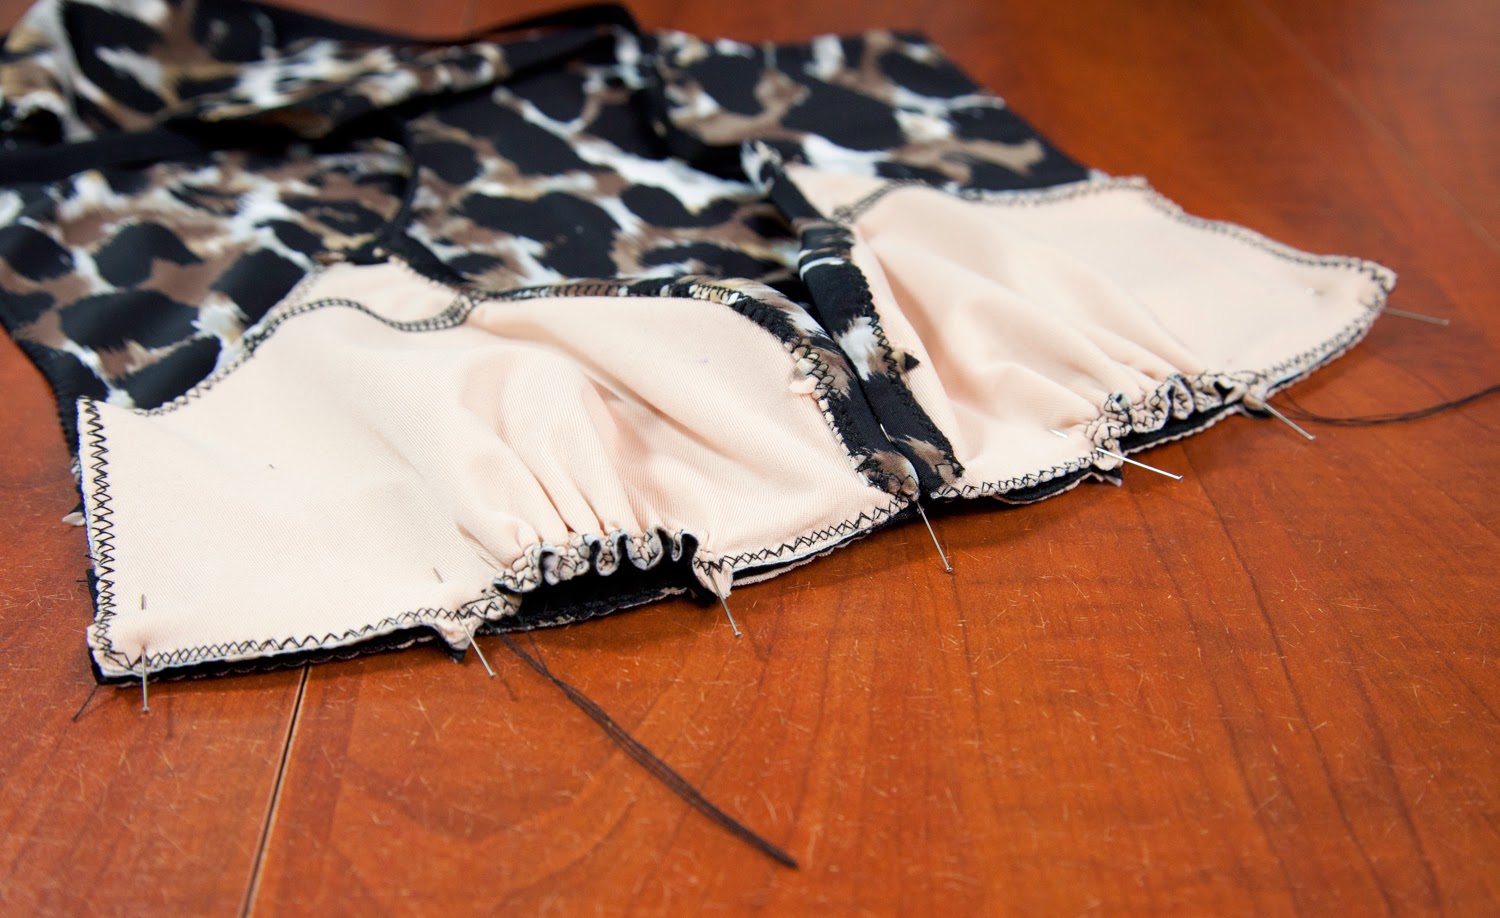
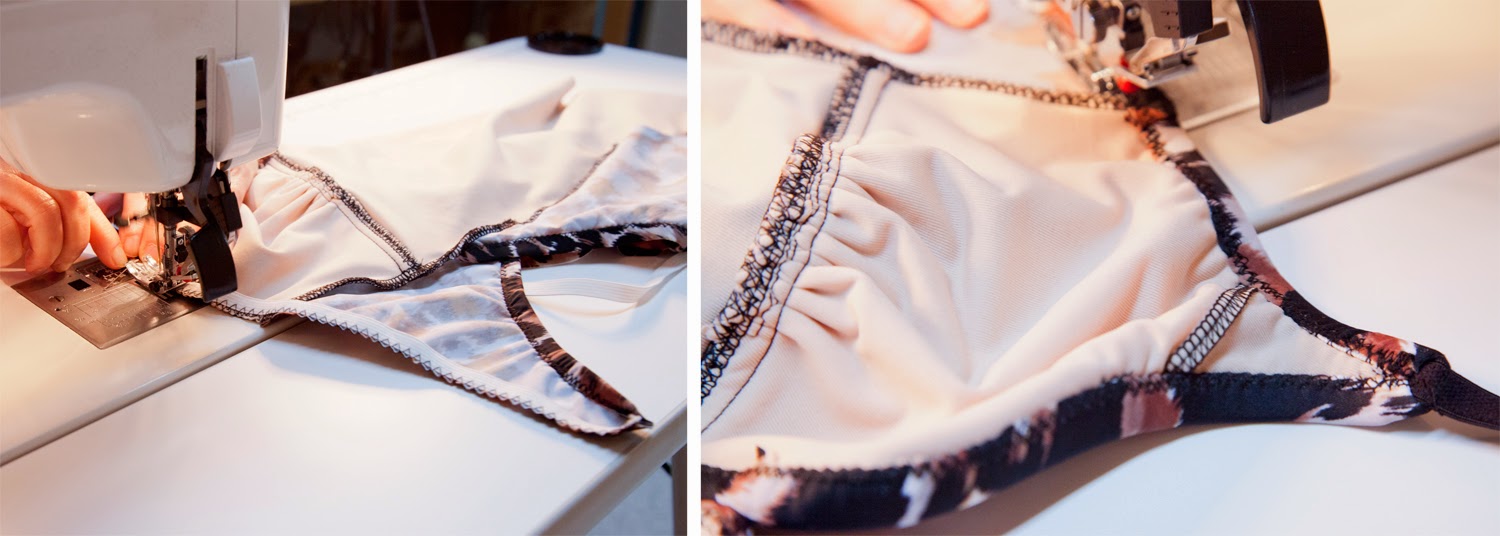
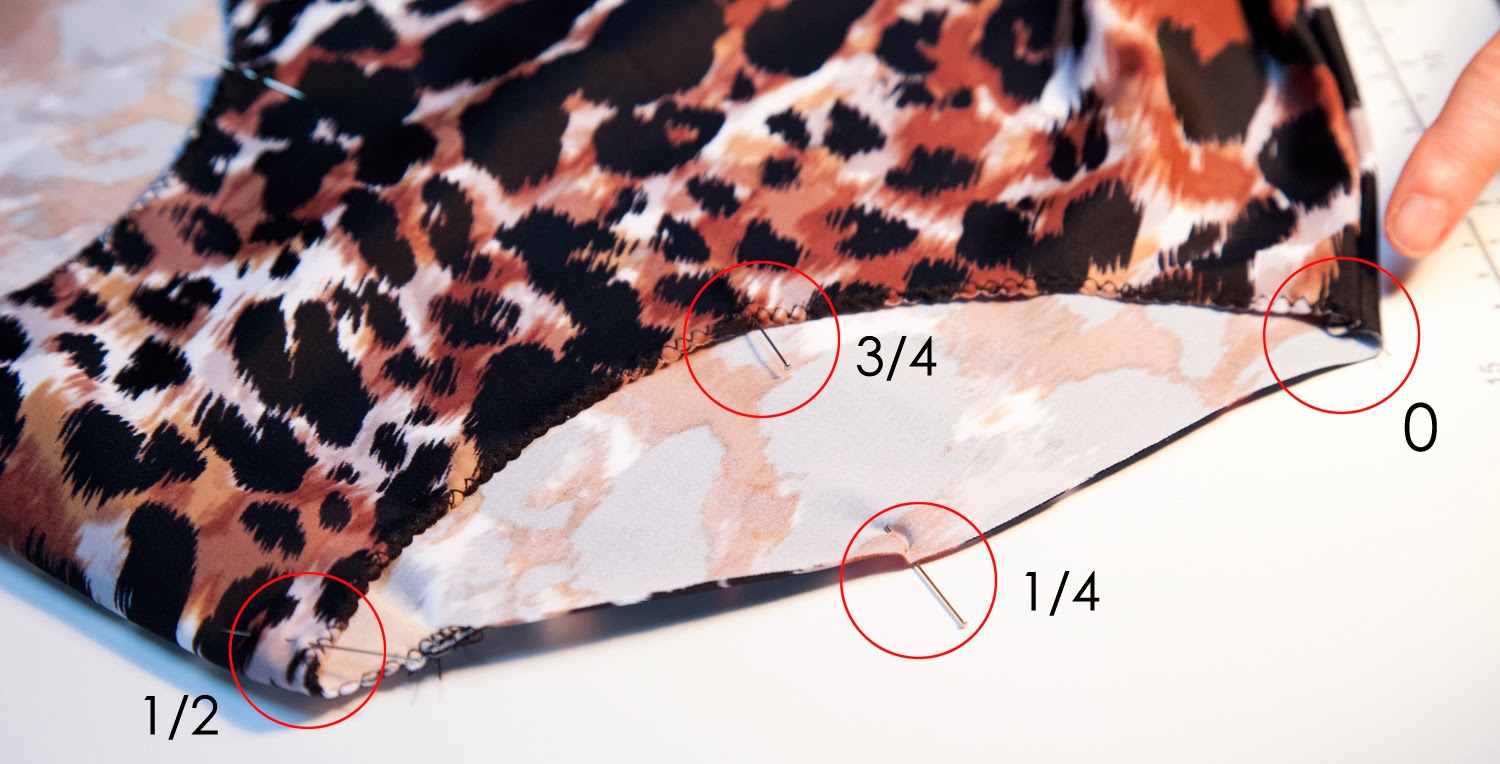
We mark center fold and make sure all notches are precisely cut. They will be very important when we adjust the bust gathers later on.
![]() |
| Clip the fold to mark center front at the top and bottom edges of the piece |
Lining
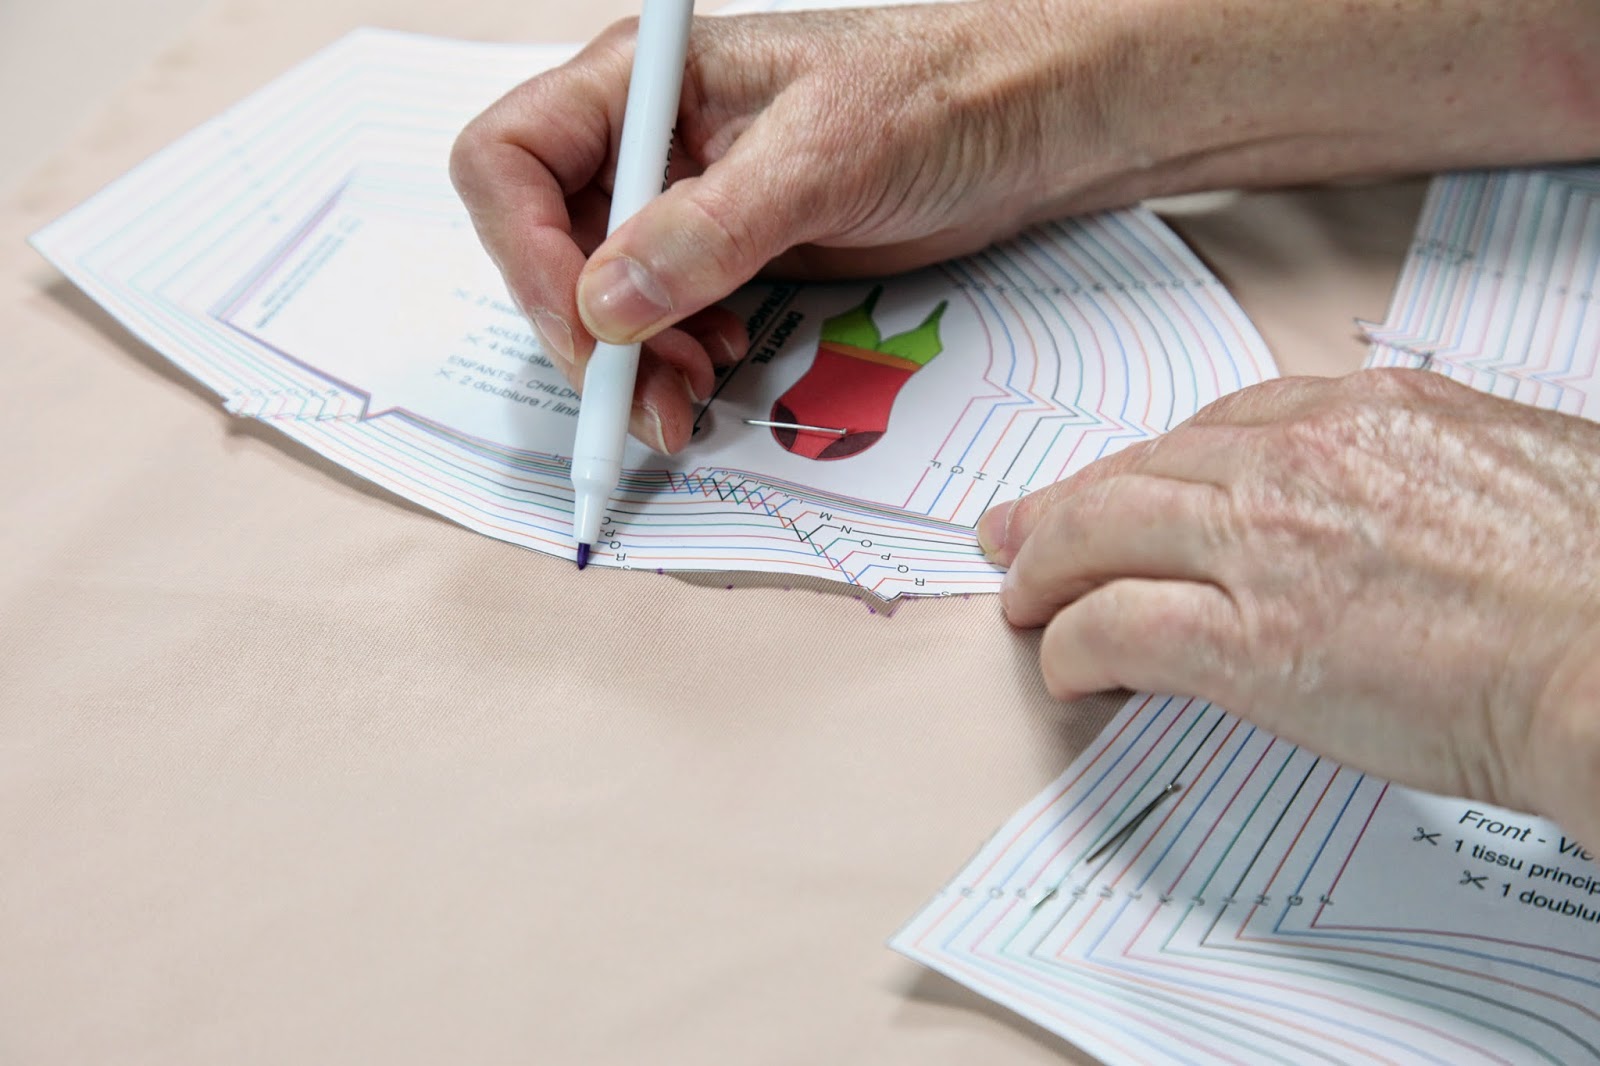
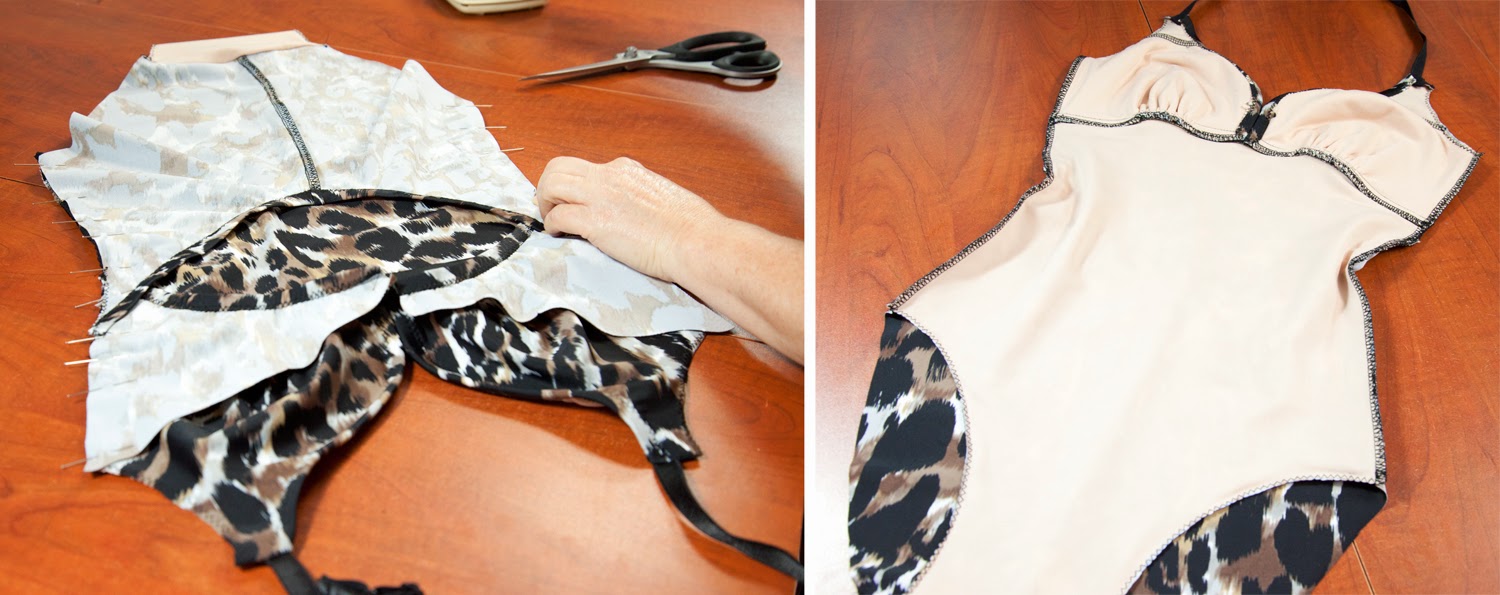
Because we do not have two paper pieces for the bust piece and need to cut 4, we traced a dotted line around the edge with a fabric marker, pinned the fabric layers together and moved the piece so we can cut everything we need at the same time:
![]() |
| A dotted line is easier to do and works great for curves! |
We marked the wrong side of the lining and black pieces because both sides are very similar and we want to make sure we always have our mirror pieces (not two left or two right). We used the fabric marker and chalk, but you could use little stickers or tape. Always mark the wrong side, not the right side in case your mark leaves a trace.
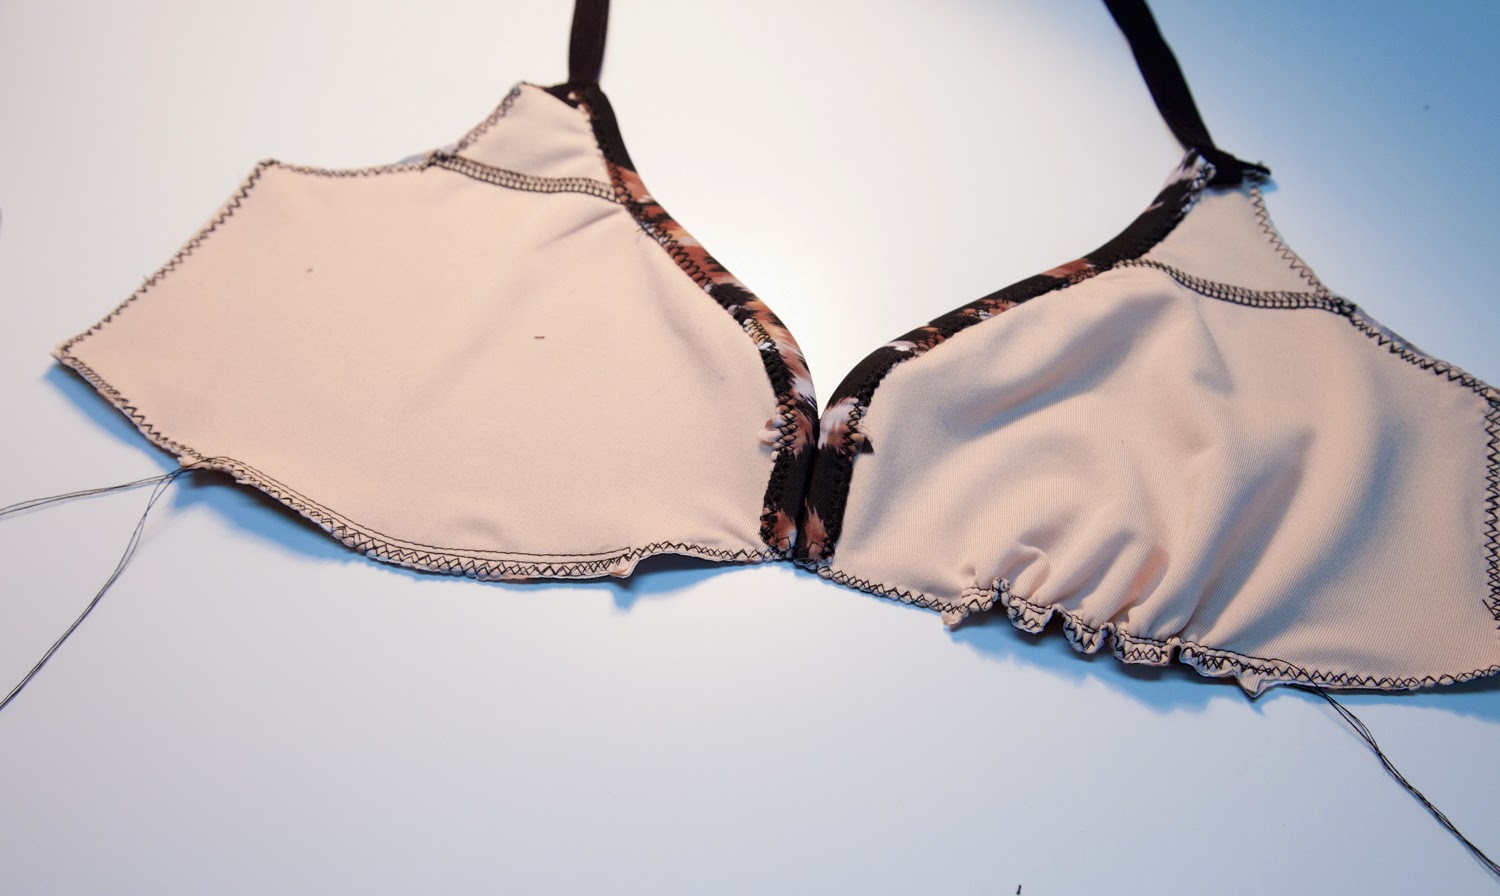
Twist-front Swimsuit
For the twist-front style, we will be using a nice border print for the bust and straps, and black spandex for the front and back. We could not find our Power Net (our sewing and fabric rooms are being renovated and our fabrics are stored all over the house!) so we will be using regular swimwear lining.
We will cut:
- In contrast fabric (print): Bust X2 (B), Straps X2 (I) - cut J if you want adjustable straps
- In main fabric (black): Front X1 (E) and Back (H) X2
- In lining: Bust X4 (B), Front X1 (E)
Contrast fabric
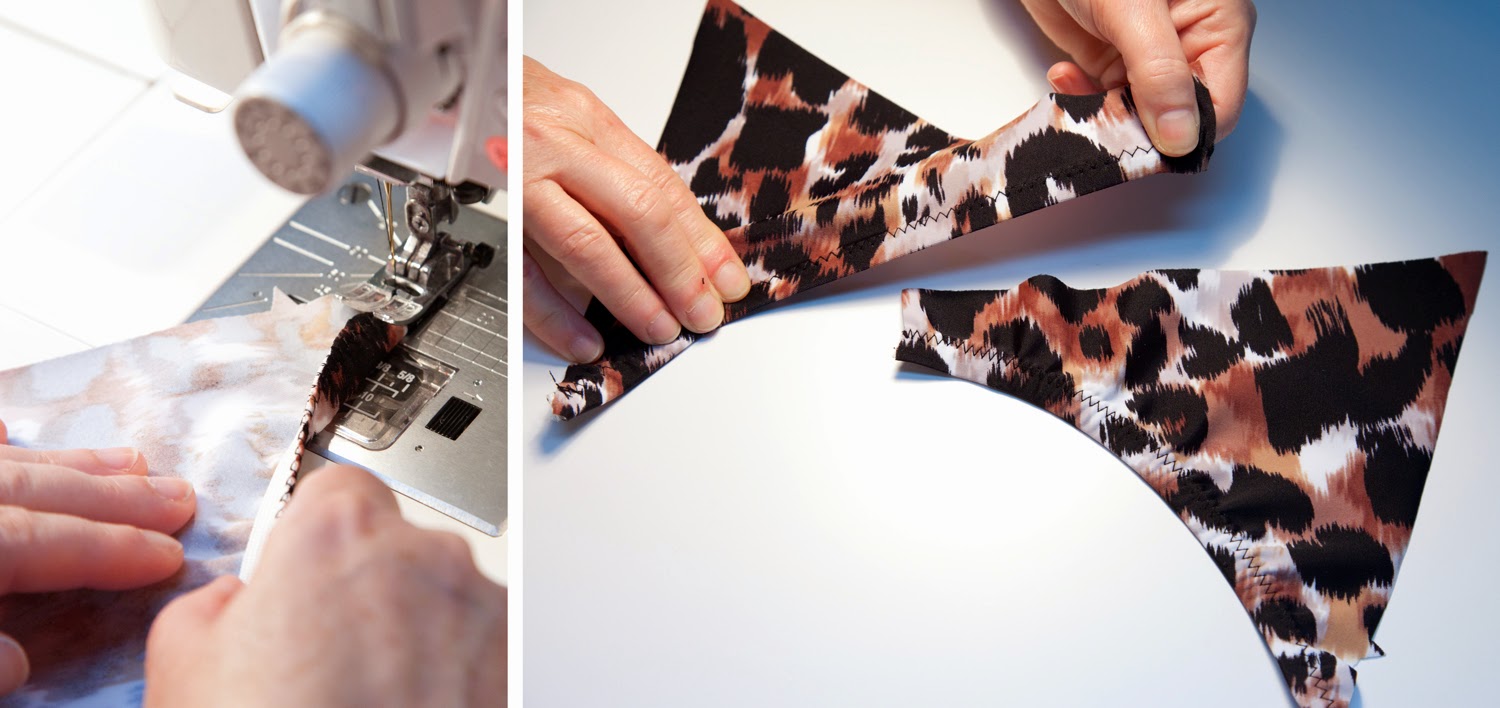
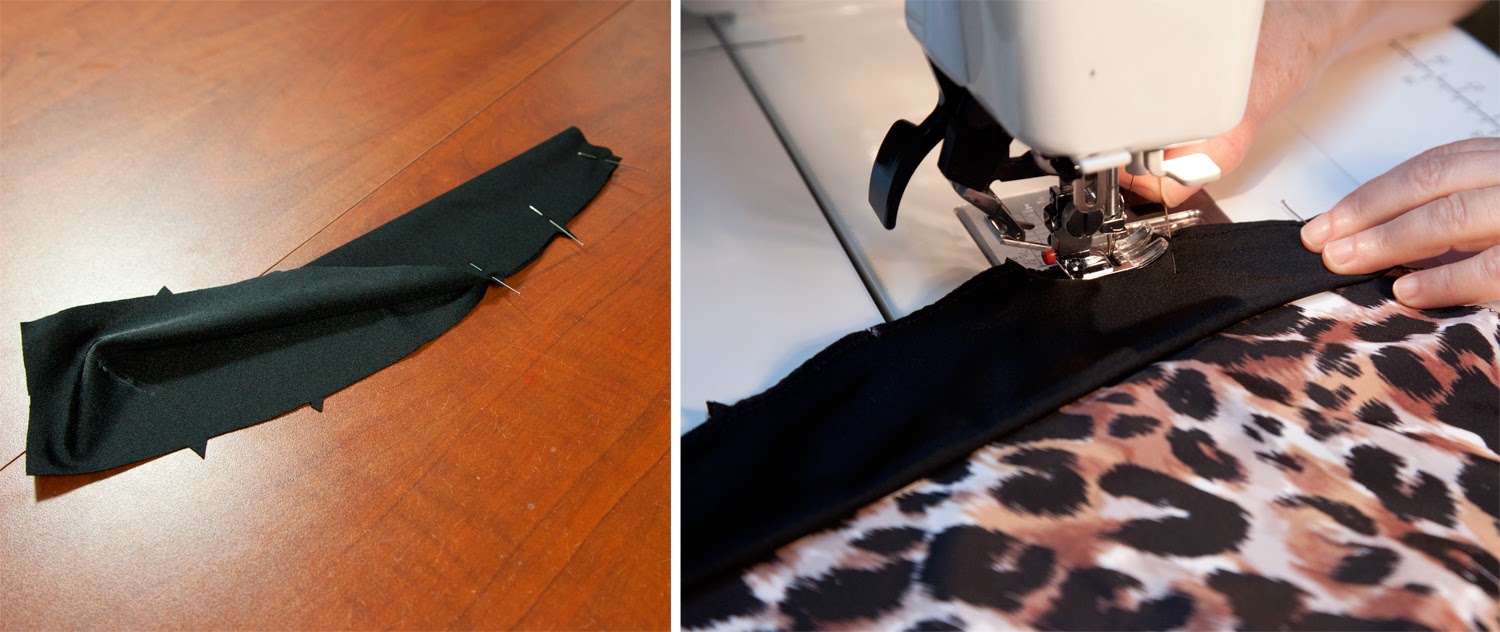
Because we want the border print horizontal at the bust, we will have to cheat a little for this one and cut the bust pieces square with the grain rather than along the grain. Since the fabric has the same stretch both ways, it will work great!
If you want adjustable straps, you will need piece J, but we will go with a fixed strap for this swimsuit and therefore will not cut the little rectangular piece. As we said earlier, we use pins and
scissors and cut carefully around every notch as they are all important for an easy construction.
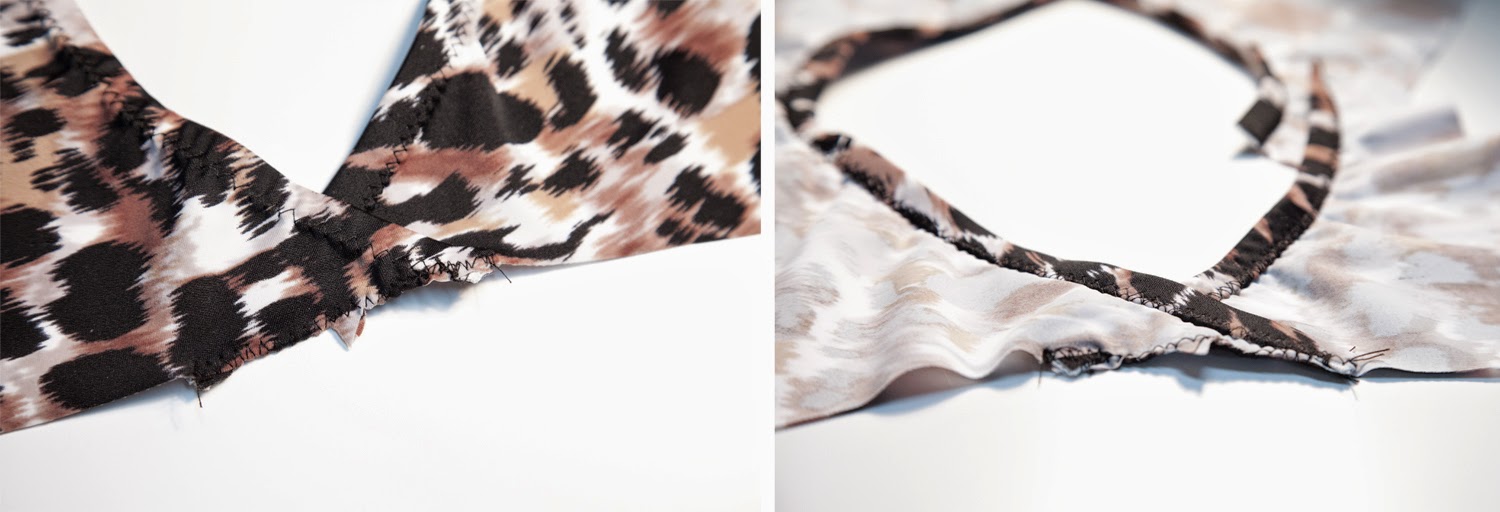
VERY IMPORTANT: When cutting the Bust piece (B), make sure you clip at center front marks:
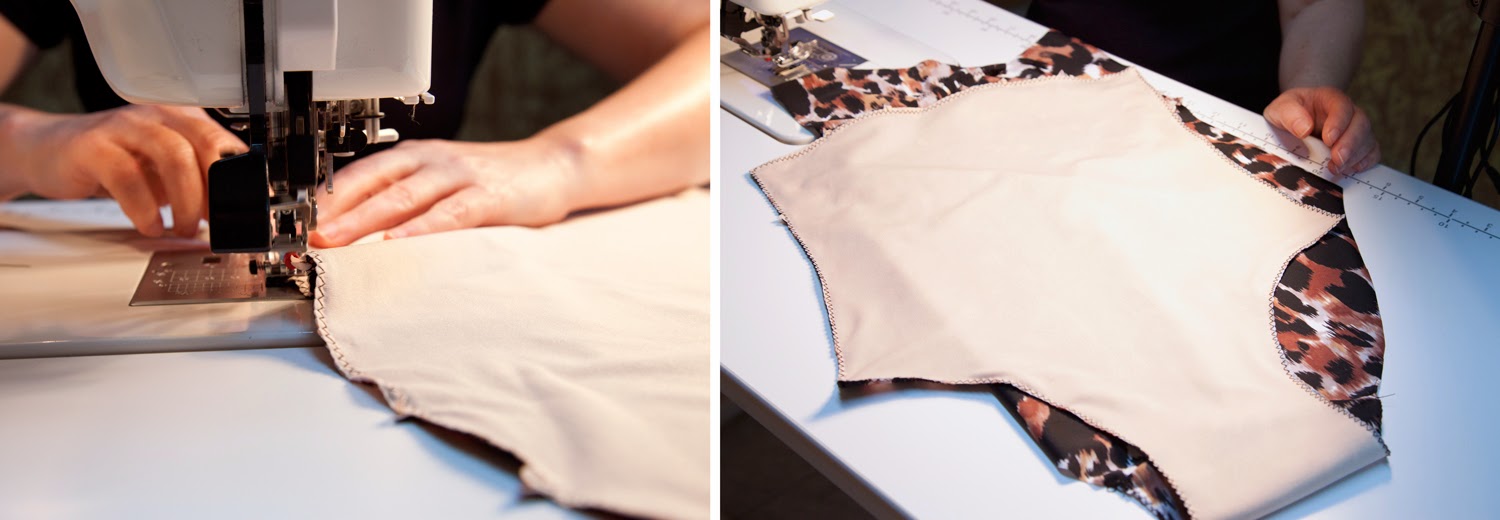
Main fabric
You fold it to have enough space for all your pieces and then measure to make sure your fabric is folded parallel to the selvage (the three orange lines are the same length).
Clip center front (the fabric fold) on Front piece (E)
and strap placement marks on the Back piece (H)
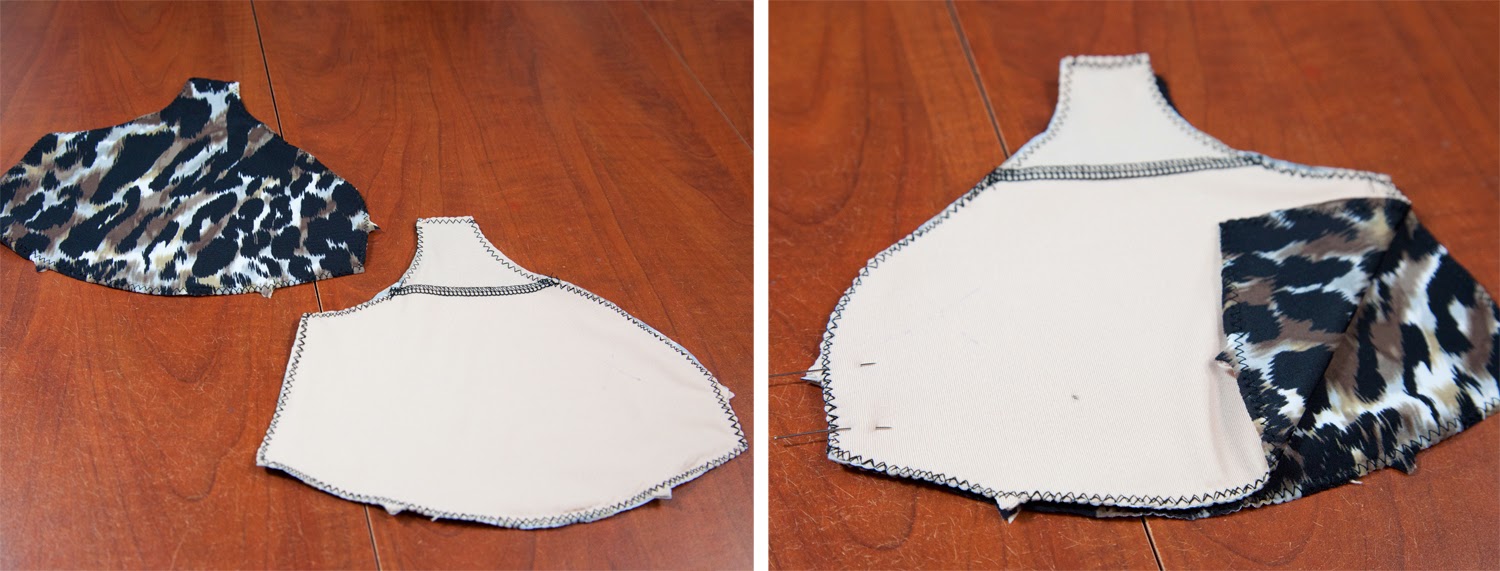
Lining
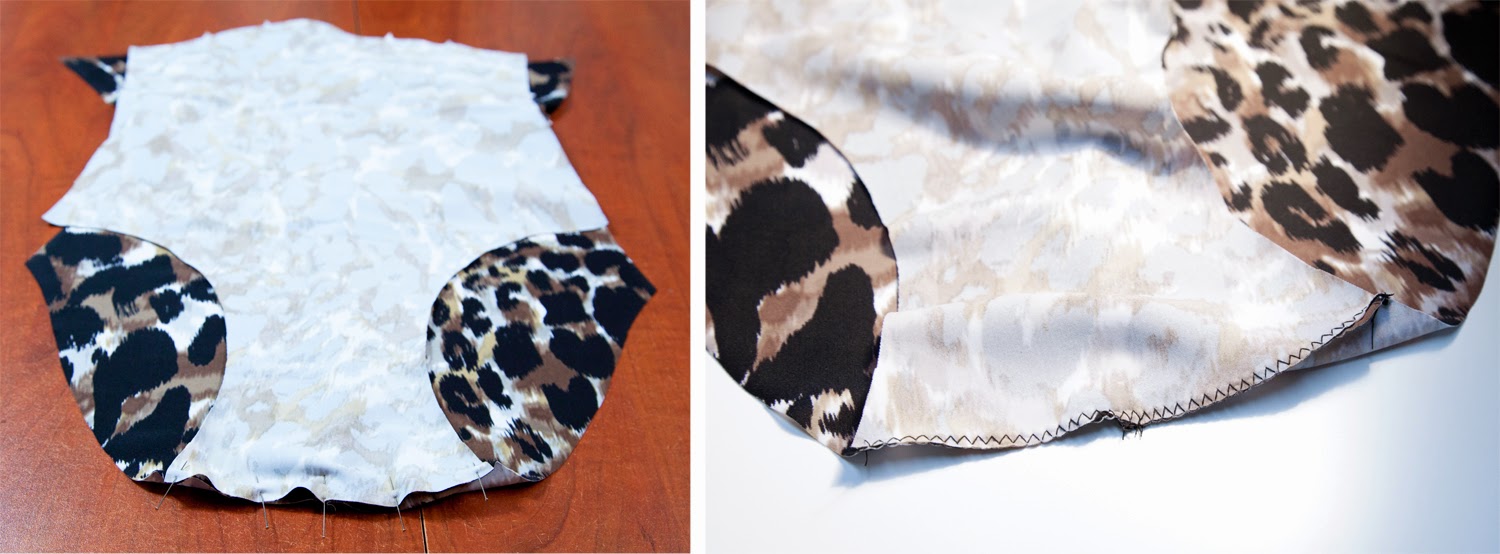
Because we do not have two paper pieces for the bust piece and need to cut 4, we traced a dotted line around the edge with a fabric marker, pinned the fabric layers together and moved the piece so we can cut everything we need at the same time:
We were able to cut the lining from the remant piece of our sweetheart swimsuit:
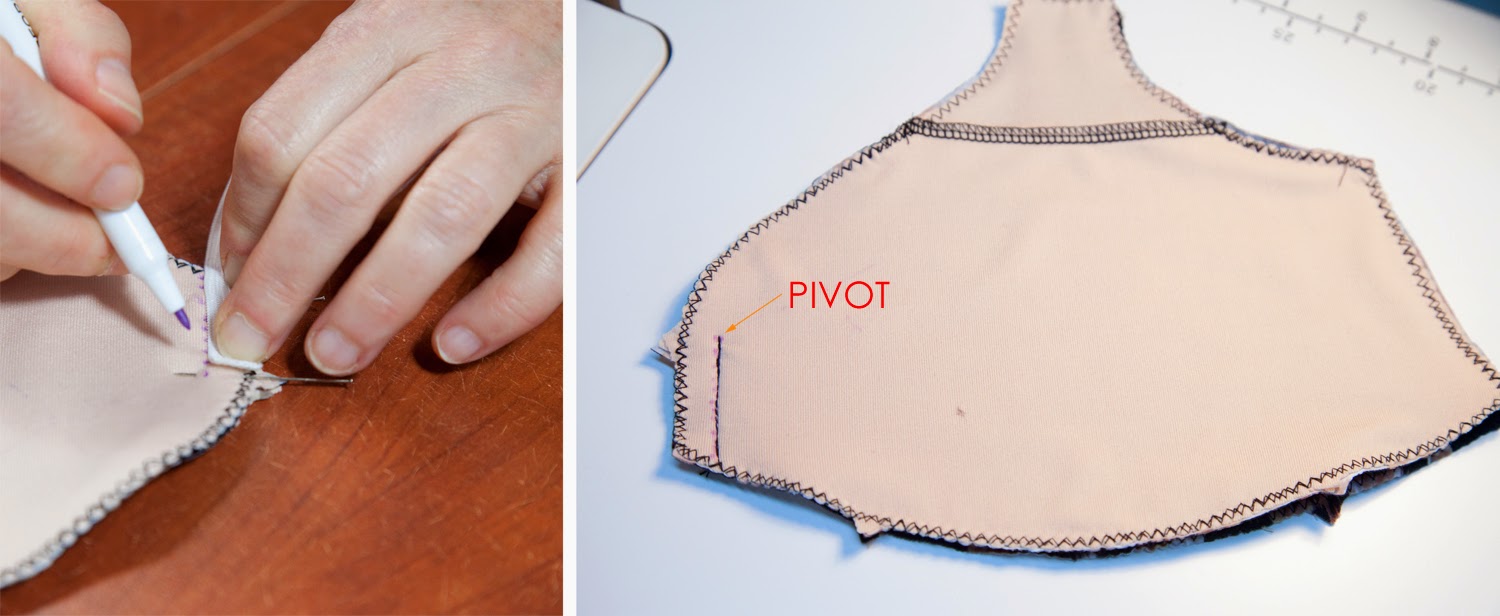
Clip center front (the fabric fold) on piece E and remove the paper and pins:
We marked the wrong side of the lining and black pieces because both sides are very similar and we want to make sure we always have our mirror pieces (not two left or two right). We used the fabric marker and chalk, but you could use little stickers or tape. Always mark the wrong side, not the right side in case your mark leaves a trace.
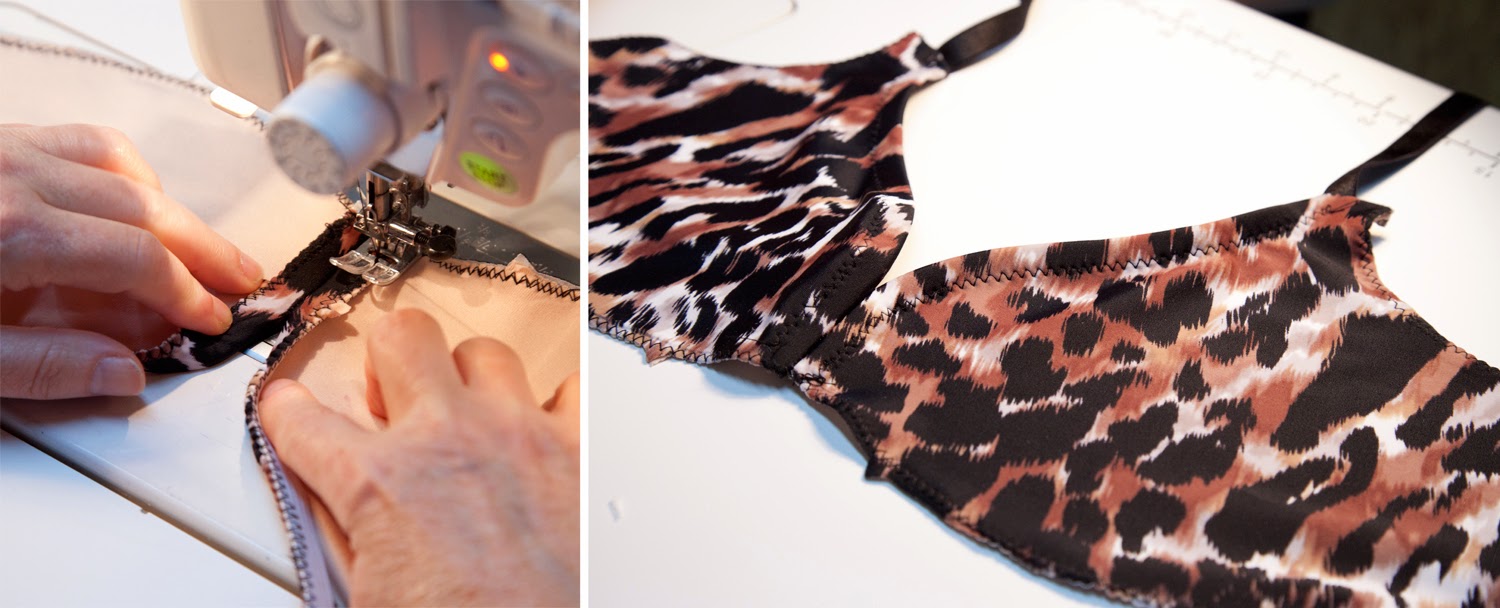
We are now ready to sew! Stay tuned for our first sewing photos.